I've been busy working at the tiny home project and have built both a prototype and production version of the window covers. My personal goal is to be able to use them as an awning, window cover and as a poor man's porch. Each cover is 50 inches wide and sticks out 48 inches from the building or the height of the windows when used as an awning.
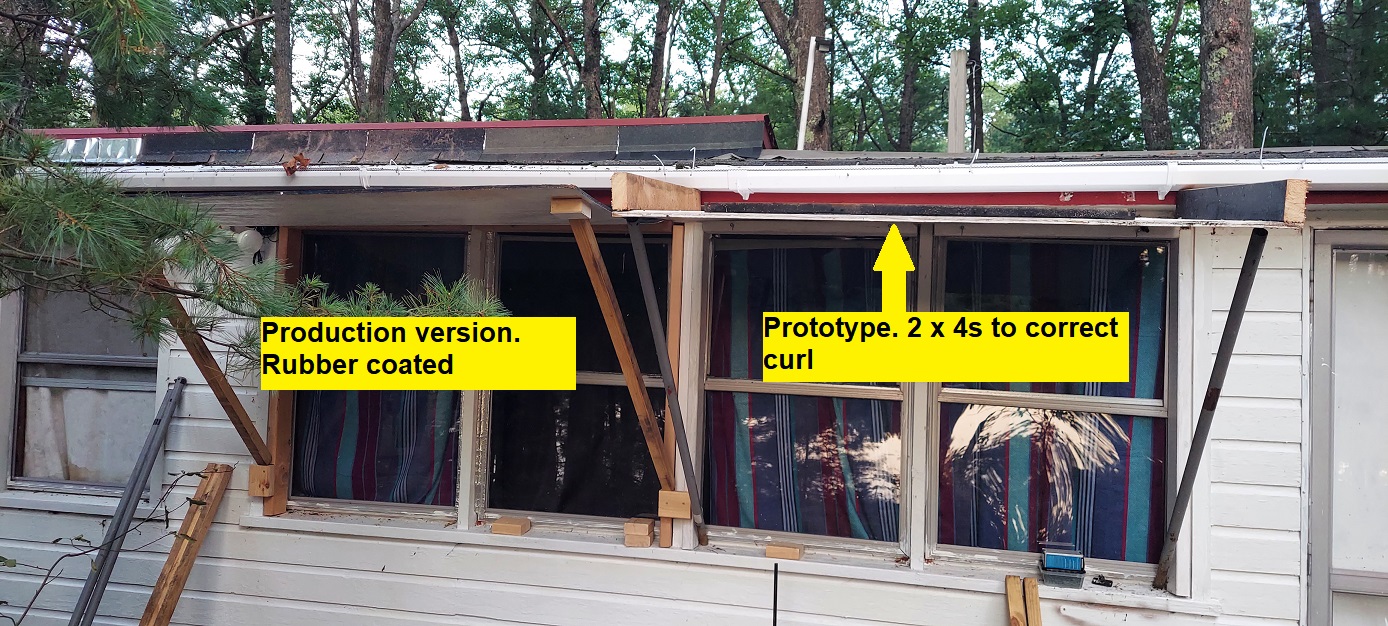
Below: The prototype cover/awning on right and the production version on the left
I had a thought that while window covers/shades to keep out the heat is all well and good there are times when you WANT solar heating like on cold days. At the same time, you might want awnings over your windows. So, I've come up with a solution that works for me and I'd bet others as well.
My particular situation is that our tiny home started as a sun porch and has 16 windows from 1960. Single pane, leak like sieves. And expensive to replace - they are not standard size. Thus, my purpose was to
A. Stop the leaks
B. Stop the solar heating
C. Act as awnings.
I treated the windows in groups of 2 because that number of single shades is just too much work for my aged body to handle. To address my three purposes:
Stop the leaks
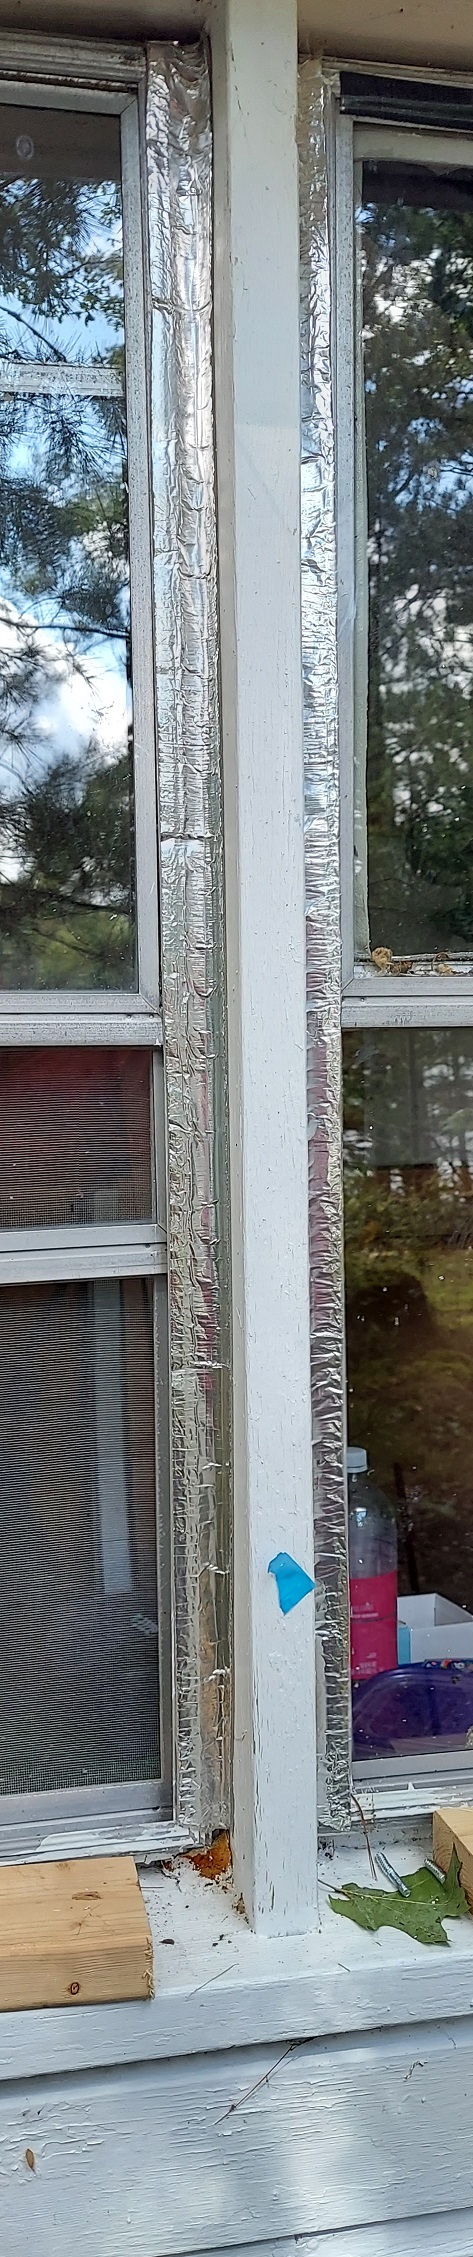
I use self adhesive foil backed pipe insulation to stop leaks. I came upon this after I bought a classic sports car and needed to stop the heat soak from the exhaust. Oddly enough, it worked. So I use it for everything now. It's better than caulk!
The windows that I never use (come on, who needs 16 windows?), I put the pipe insulation all around them on the inside. On the outside, I lined the windows with it where you would put caulk. The windows don't leak any more. Simple solution without the caulky mess.
Below: Strips of pipe insulation to seal leaks from outside
Stop the solar heating
We're exactly on the 45th parallel and are at a slightly higher elevation with a lot less air pollution so the sunlight is more intense heat wise. The tiny home has two parts, a modern highly efficient and insulated new side and the old sun porch side. The sun porch side from all those windows gets hot indeed. It's great when it's cold out but when it's 90 it's a real pain. I did two measurements, one with plywood and one without in the storage room so it was more controlled.
So to test this out, I just took a hunk of the plywood I wanted to use and put it over some windows. Bare wood helped even though the 3/8 inch OSB plywood I'm using has an R value of just .93, when painted white I assume it would reflect some of the heat.
I picked two days where the weather would be the same.
Outside temp.: 89 degrees
Inside, no cover, 94 degrees
Inside, with cover, 85 degrees
That was without the sandwiched insulation I thought about using so I abandoned that idea. KISS
So the plywood shade / awnings would work as far as I was concerned.
After I made a prototype, I discovered the great flaw in my idea of painting them white (exterior, primer/paint combo) and hanging them. Water soaked through the pores of the paint and the plywood curled like a champ. Other than that detail, the prototype worked fine.
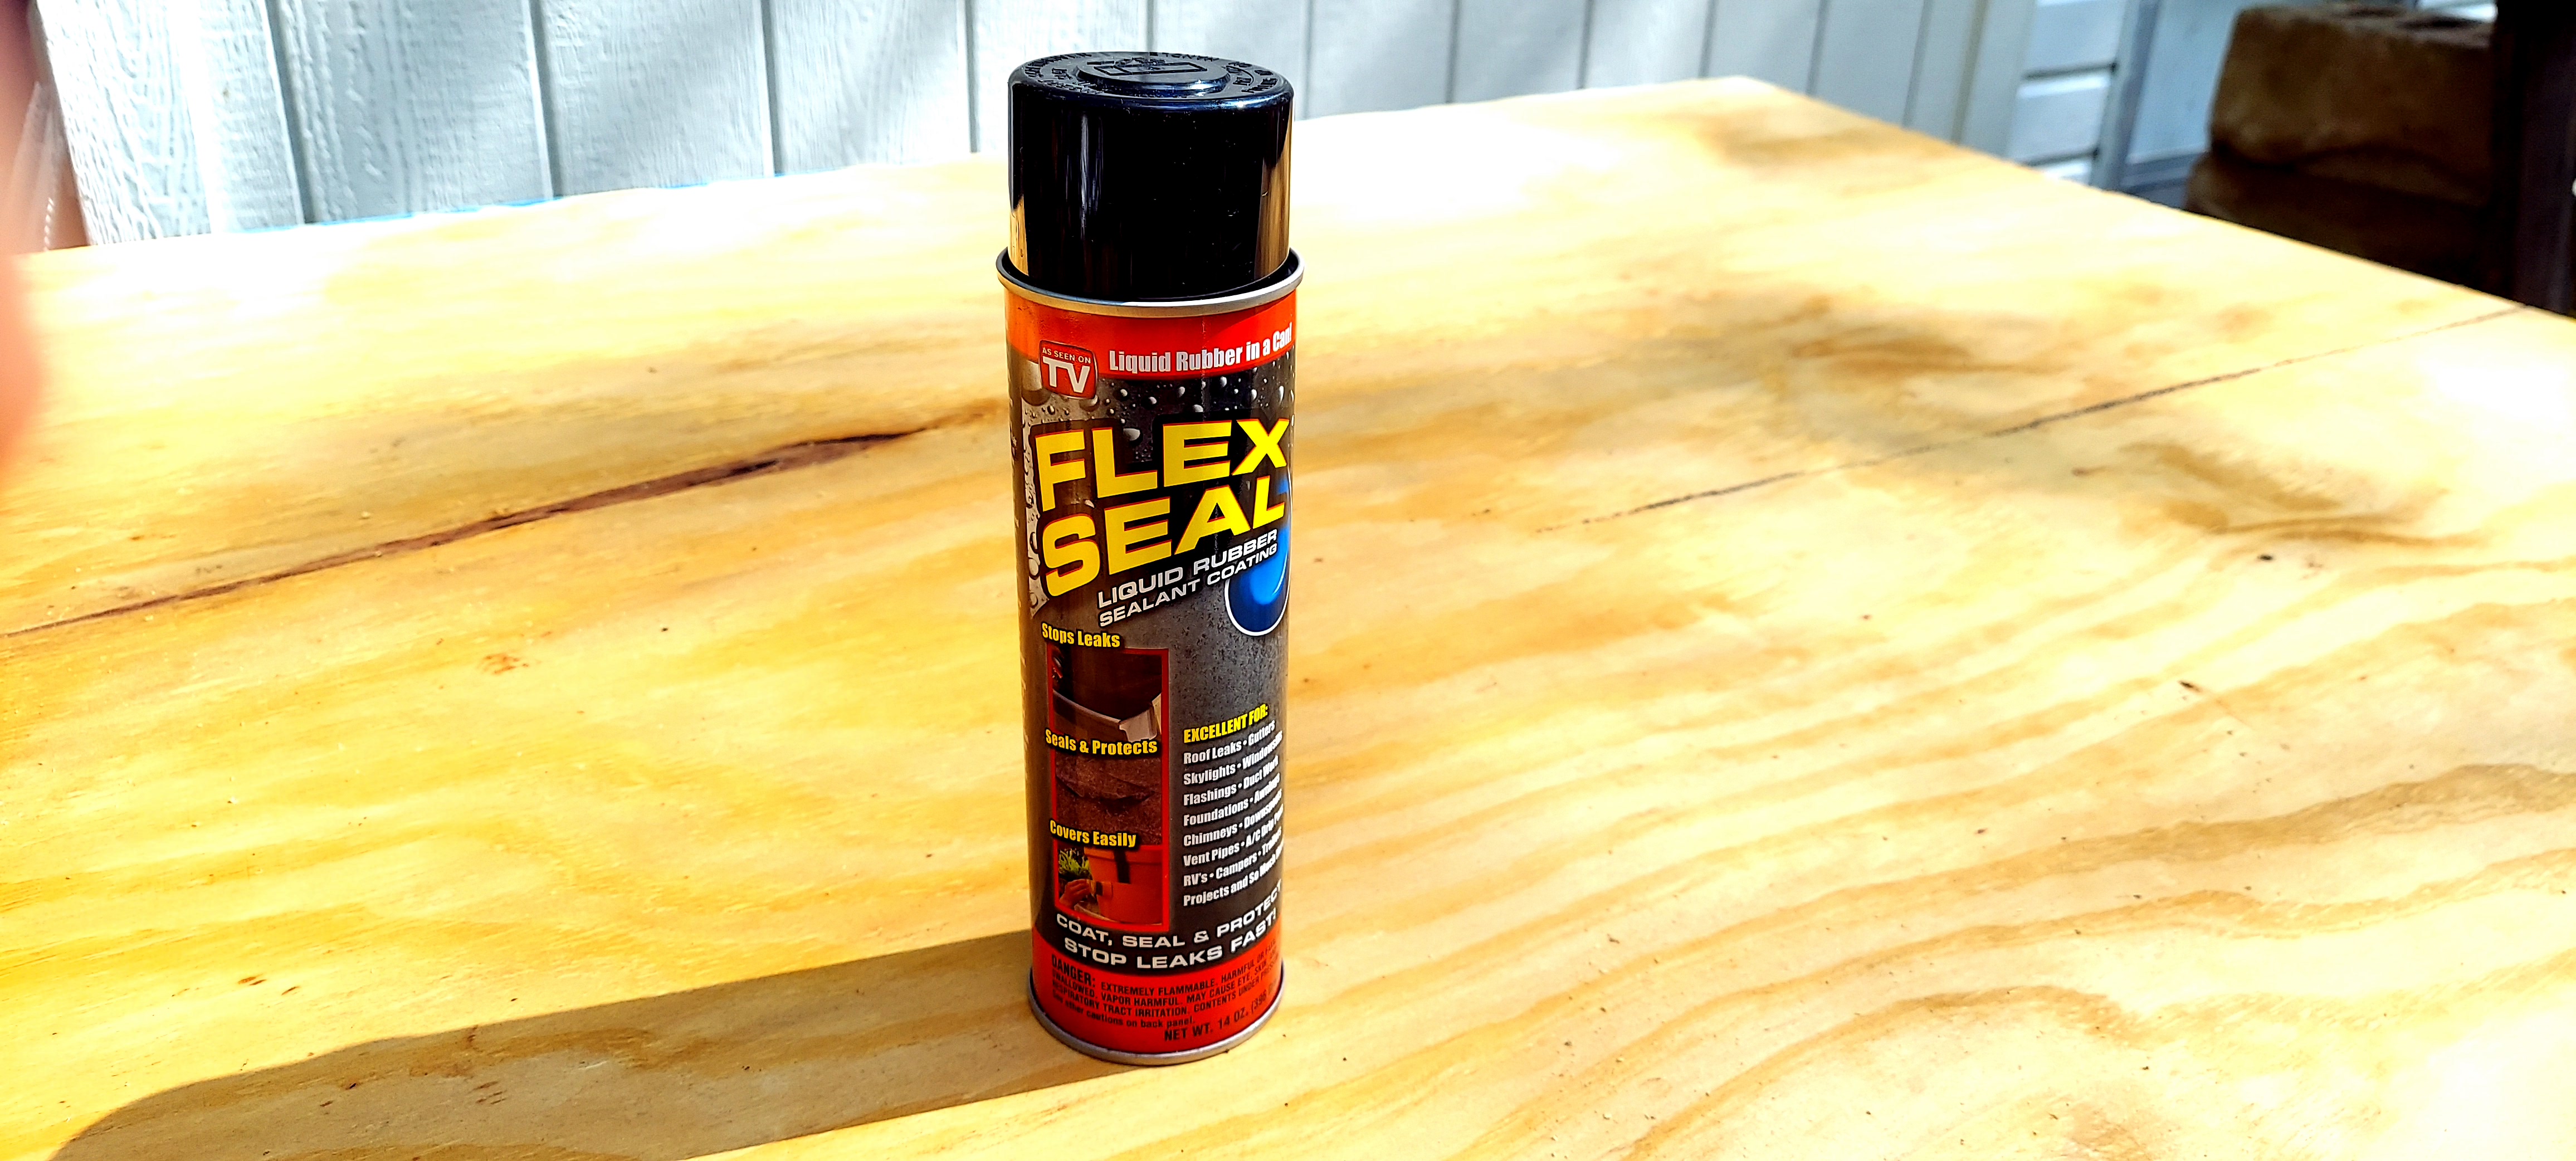
The actual first production model, I took Flex seal spray rubber and rubber coated the side that is exposed to the rain. Yeah, that worked great.
Next to prop open the shades in awning mode, I used two methods to test. First, I used some old antenna mast sections on the prototype. For the production design, I used 2 x 2 treated lumber, cut to fit. I'll fine tune the assembly as I have time.
The real trick is how I hang them. They can be used as awnings or shades. Using what are called "hanger bolts" which are wood screw thread on one end and machine screw thread on the other. Here's the process:
I used 2 x 4s to hang the shades / awnings from. Please note that the two sets of hanger bolts need to be offset a bit or one of them is going to run into the other one, hard knocks lesson.
1. First I cut the wood the width and height of the window(s).
2. I drilled a 3/8 inch hole in the plywood, 8 inches in from the edge, 1/2 inch down from the top edge.
3. Then I held the 2 x 4 in the spot where it was going to be attached with the 1 1/2 inch facing out.
4. Then I ran the hanger bolt through the 3/8 inch holes
5. Next I turned the 2 x 4 so that the first hanger bolts were facing down and then put in two more hanger bolts for the awning position
6. Then I attached the 2 x 4 to the top of the window frame.
7. I sprayed the rubber coating on the plywood
8. Test fit, adjust holes as needed.